Installation & Setup
Follow this guide to install FetchPress and connect your version control accounts.
Installation
Sign up for a FetchPress account if you haven't already. You can download the plugin and use it for free — no subscription required to get started.
Once logged in, navigate to the account page and download the latest version of the plugin.

In your WordPress admin, go to Plugins → Add New → Upload Plugin and upload the
.zipfile. Activate the plugin once installed.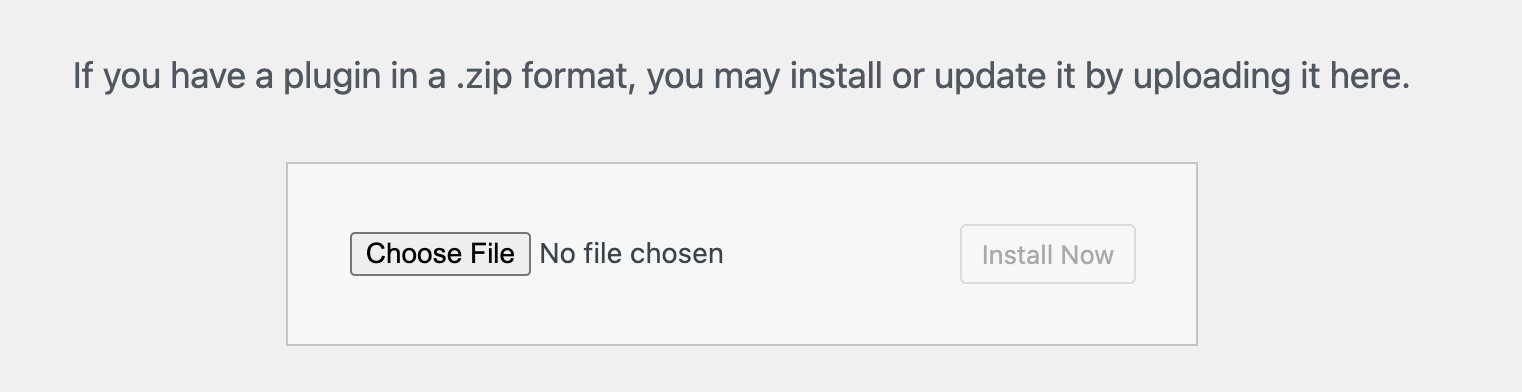
Initial Setup
After activation, FetchPress will appear in your WordPress admin navigation. Click on it to open the settings page.
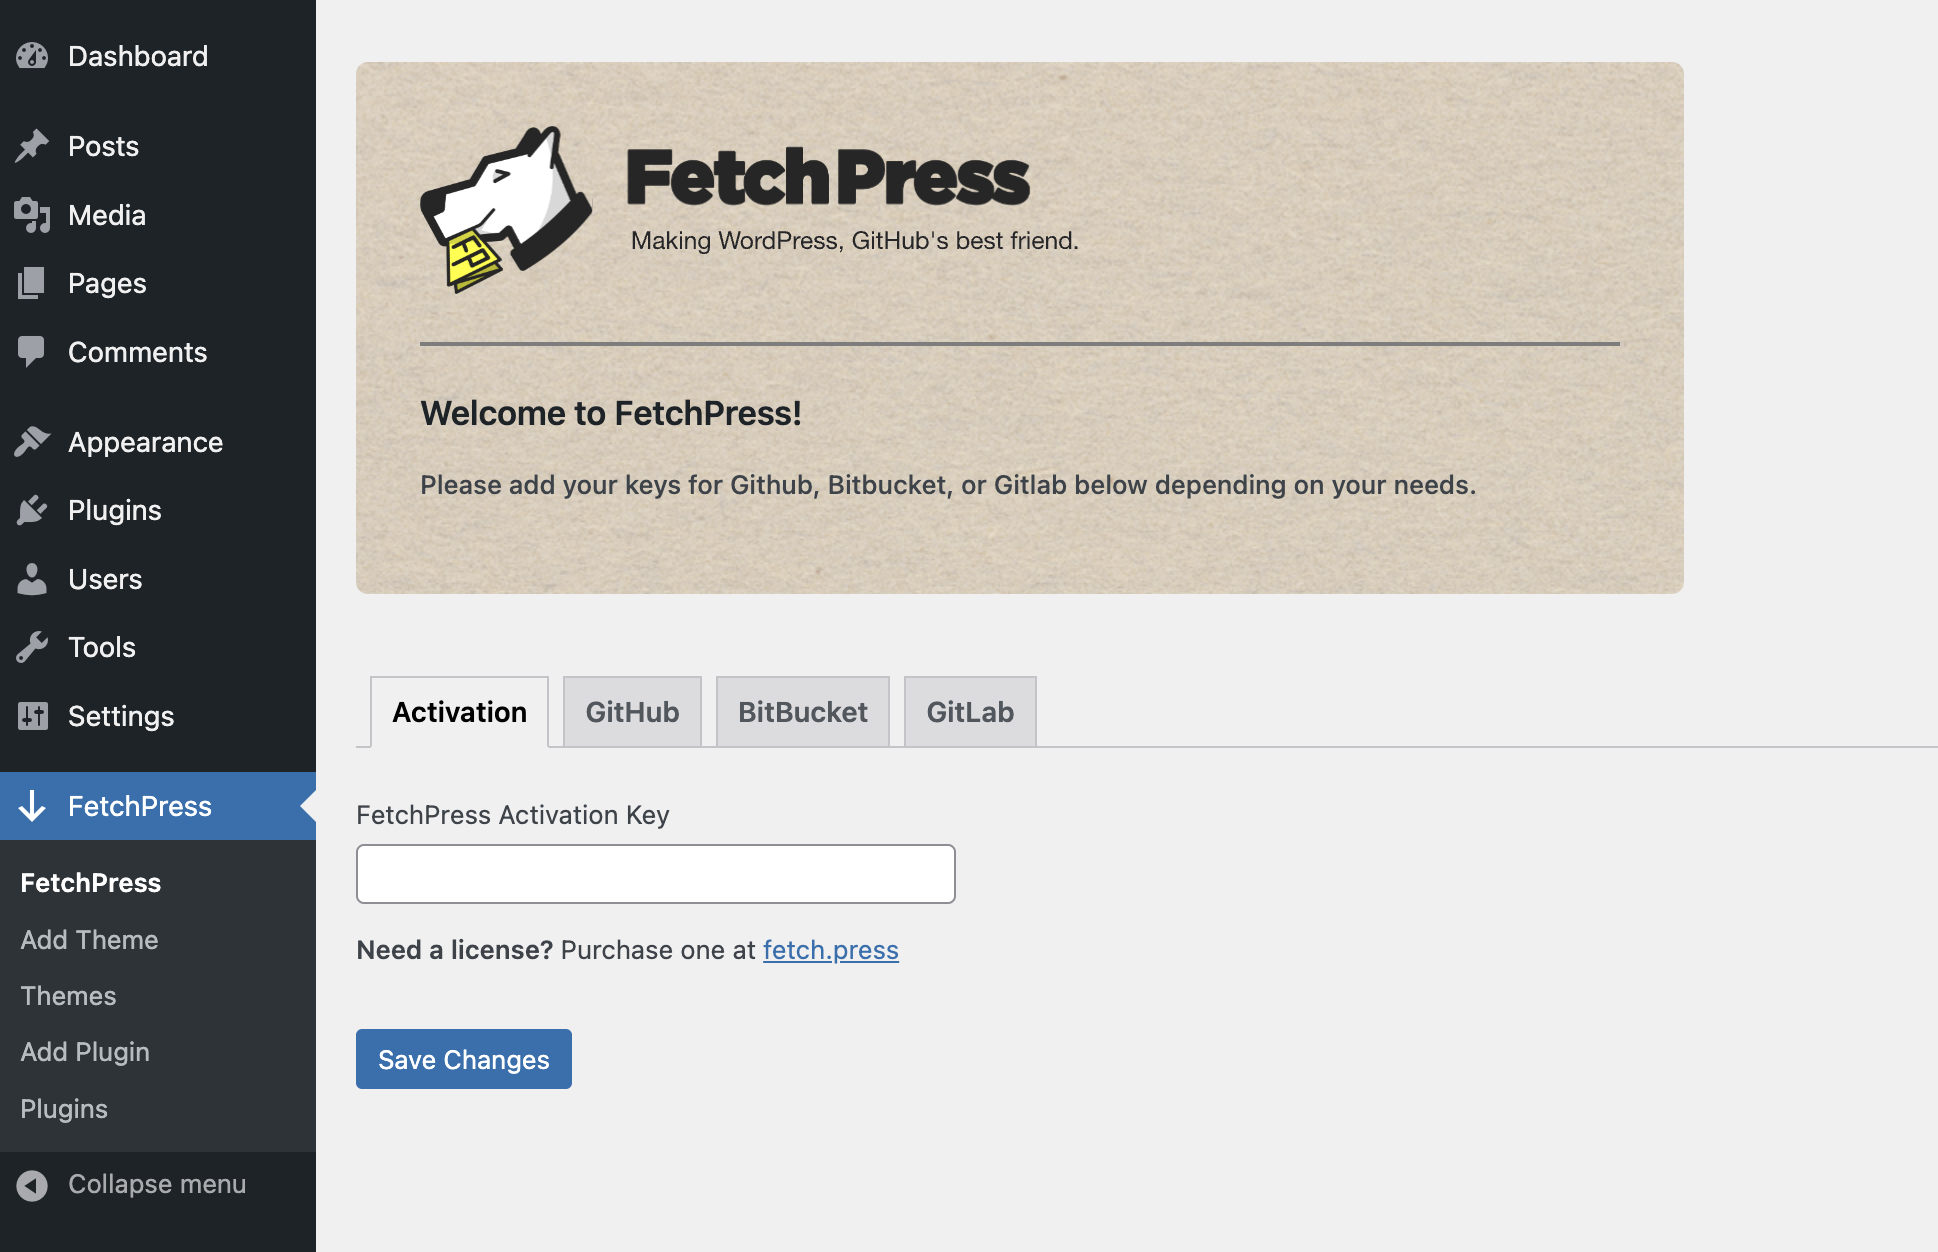
FetchPress is fully functional for all public repositories without any additional configuration. If you only need to deploy public repos, you're ready to go.
To deploy private repositories, you'll need to activate a license and connect your version control account. Follow the steps below.
License Activation
Subscribe to a plan to unlock all FetchPress features, including private repositories, deployment history, and rollback.
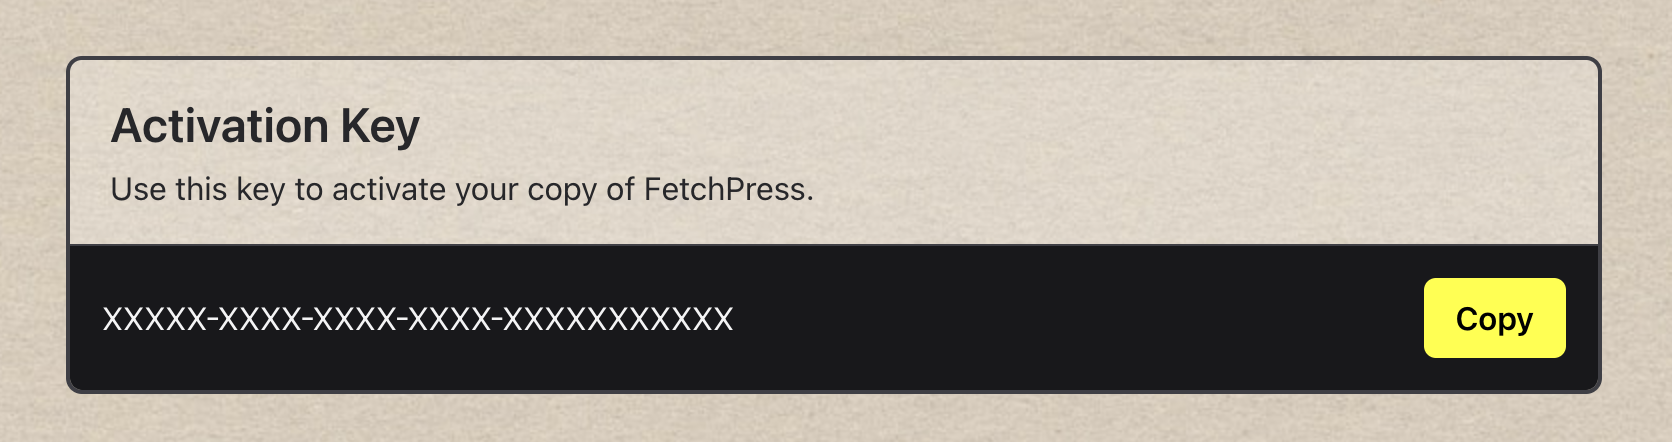
After subscribing, retrieve your activation key from your account page and enter it into the FetchPress settings page under the Activation tab.
GitHub
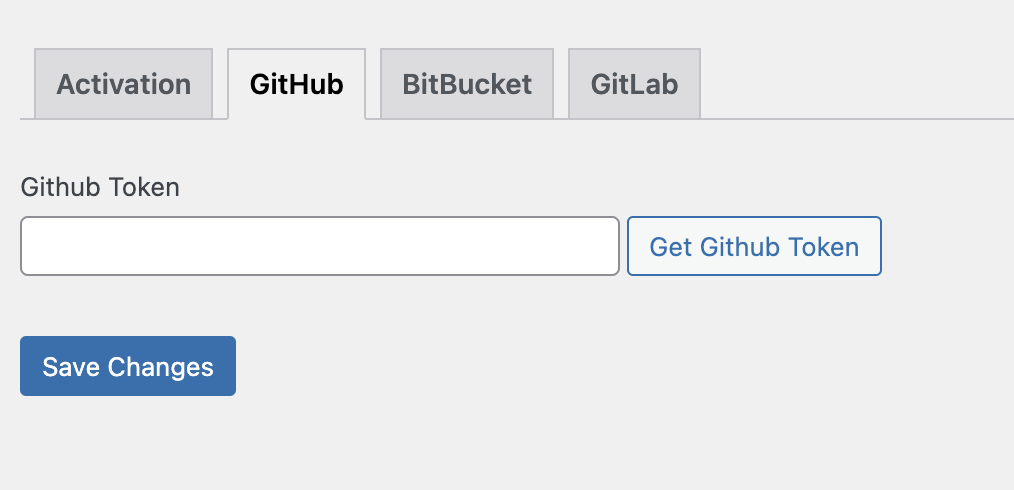
Click the GitHub tab in the FetchPress settings page. Click "Get GitHub Token" to generate an access token via OAuth. Once generated, copy it into the token field to connect FetchPress to your GitHub account.
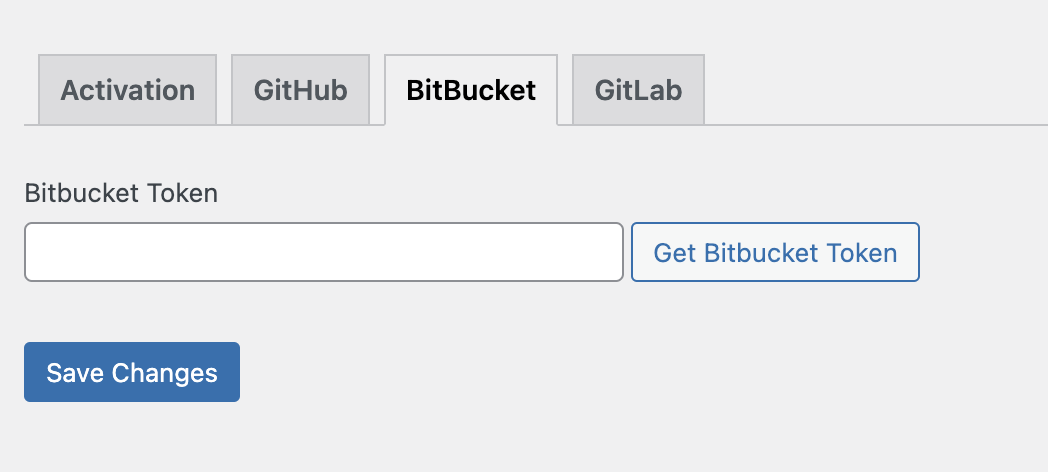
Bitbucket
Click the Bitbucket tab in the FetchPress settings page. Click "Get Bitbucket Token" to authenticate via OAuth. Copy the generated token into the token field to connect your Bitbucket account.
GitLab
GitLab uses a Personal Access Token. To generate one:
- Go to the Personal Access Tokens page in your GitLab profile settings.
- Create a new token and select the
apiscope. - Copy the token and paste it into the Personal Access Token field in FetchPress.
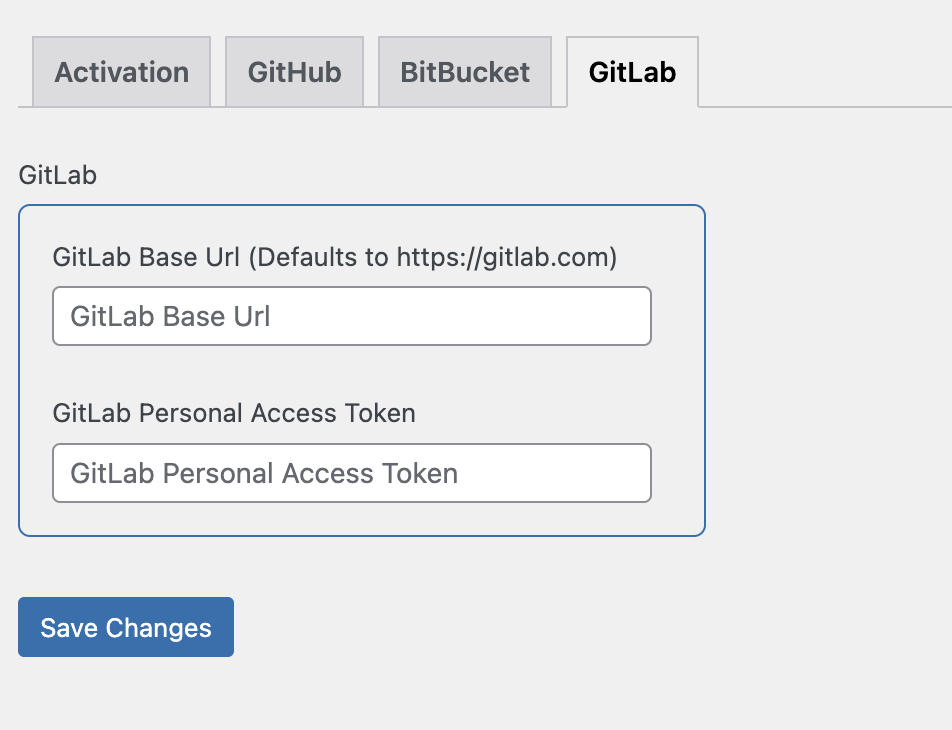
If you're using a self-hosted GitLab instance, also update the Base URL field to point to your instance (e.g.,
https://gitlab.yourcompany.com).